Webcam Time-Lapse Photography — How to Make Your Own
DIY guide to capturing time-lapses from public webcams. Tools, methods, and techniques to turn live cam streams into shareable time-lapses.
A time-lapse compresses hours of slow visual change into seconds of dramatic content. Sunrise, weather patterns, lava activity, seasonal change — all become digestible. The good news: you can capture time-lapses from public webcams without any specialized hardware.
This is how Port of Cams builds the time-lapse content you see on YouTube and X. Same techniques work for anyone with a laptop and an internet connection.
The core idea
Public webcams expose either:
- JPG snapshot URLs — single image refreshed periodically (every 30 seconds to 5 minutes typically)
- Live video streams — HLS, RTMP, or YouTube embeds
For time-lapses, the JPG snapshot path is far easier and produces high-quality output. You pull a JPG every N seconds, save them with timestamps, then assemble them into a video file.
What you need
Hardware: Any laptop or always-on small computer (Raspberry Pi works fine).
Software:
curl— fetches the JPG (built into Mac/Linux)ffmpeg— assembles JPGs into video (free, open-source)cron(Mac/Linux) or Task Scheduler (Windows) for automation
That’s it. No paid software, no subscriptions.
Finding usable JPG endpoints
Many public cams expose direct JPG URLs:
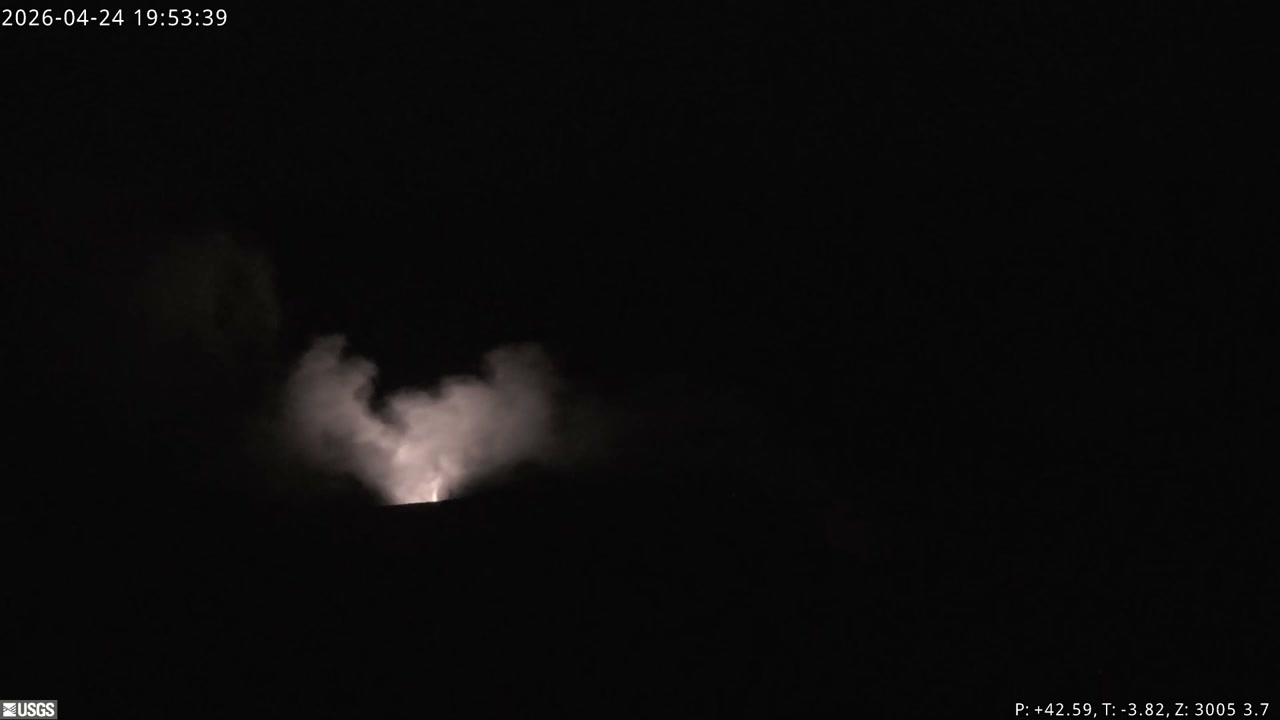
- USGS volcano cams:
volcanoes.usgs.gov/observatories/hvo/cams/V1cam/images/M.jpg - NPS cams:
www.nps.gov/webcams-glac/ApgarLookout-01.jpg(and many similar) - Bar Harbor Cam:
barharborcam.com/webcams/jordanpond/jordanpond.jpg
How to find them: open a webcam page in your browser, right-click on the image, “Open Image in New Tab.” The URL is the JPG endpoint.
If the cam is YouTube-only and you can’t get a JPG, the time-lapse path is harder (requires capturing the video stream and frame-extracting), but most “real” webcams expose JPGs because that’s how they originally worked.
The capture script
Here’s a minimal bash script that pulls a JPG every 15 seconds for 2 hours, saving timestamped files:
#!/bin/bash
URL="https://volcanoes.usgs.gov/observatories/hvo/cams/V1cam/images/M.jpg"
OUTDIR="/tmp/captures/kilauea-v1"
INTERVAL=15
FRAMES=480  # 480 frames * 15 sec = 2 hours

mkdir -p "$OUTDIR"
for i in $(seq -w 1 $FRAMES); do
  curl -s -o "$OUTDIR/frame-$i.jpg" "$URL"
  sleep $INTERVAL
done
Run that for 2 hours and you’ll have 480 JPGs.
Assembling the video
Once you have the frames:
ffmpeg -y \
  -framerate 30 \
  -i /tmp/captures/kilauea-v1/frame-%03d.jpg \
  -c:v libx264 \
  -pix_fmt yuv420p \
  -movflags +faststart \
  /tmp/output/kilauea-v1-timelapse.mp4
Result: a ~16-second video (480 frames at 30 fps) that compresses 2 hours of activity. File size typically 5-20 MB depending on resolution.
Frame rate and pacing
Three numbers that matter:
- Capture interval (how often you pull a JPG): 15 seconds is a good default. Faster captures = smoother motion but bigger storage. Slower captures = more compression of time but choppier motion.
- Total frames: Determines how long your time-lapse is. 480 frames at 30 fps = 16 seconds. Most viewers want time-lapses in the 10-30 second range.
- Output frame rate: 30 fps is standard. 60 fps for ultra-smooth output. Stick with 30.
Quick math: time covered = capture interval × total frames. For a 2-hour lava event: 15 sec × 480 = 7200 sec = 2 hours.
Branding the output
To overlay a logo on the time-lapse:
ffmpeg -y -i input.mp4 -i logo.png \
  -filter_complex "[1:v]scale=400:-1[logo];[0:v][logo]overlay=W-w-20:H-h-20" \
  -c:a copy branded.mp4
That puts the logo bottom-right with 20px padding. Adjust the position and scale as needed.
Posting cadence
For consistent output:
- Set up cron jobs to capture during peak windows. Sunrise and sunset are universal favorites; for volcanoes add eruption-active hours.
- Auto-brand and upload. A script chain: capture → ffmpeg assemble → ffmpeg brand → upload to YouTube/cloud storage.
- Schedule, don’t post live. Quality content > posting velocity. Schedule a week ahead.
Port of Cams runs this exact pipeline at scale. Multiple cron jobs capture across 30+ cameras, ffmpeg jobs run on a schedule, and content posts to multiple social channels automatically.
What makes a great time-lapse
After capturing thousands, the patterns become clear:
- Pick high-contrast windows. Sunrise and sunset have the most visual change per second. Midday cams are often static.
- Capture through events. A 2-hour capture during a thunderstorm is way more interesting than a 2-hour capture in clear weather.
- Long captures > short captures for landscape. A 30-minute capture rarely has enough change. 1-2 hours is the sweet spot for most natural scenes.
- Volcanoes are an exception. Lava activity changes minute-by-minute. 30-minute captures of an active vent can be excellent.
- Stable framing matters. Time-lapses from PTZ cameras (cams that re-aim) almost always have a jarring shift in the middle. Stick with fixed cameras for time-lapse.
Permissions and ethics
Public webcams are public. Government cams (USGS, NPS, NOAA, state DOTs) expose snapshots specifically because they want public access — that’s the explicit purpose. Re-using their imagery for time-lapses is generally fine.
That said:
- Always credit the source. USGS, NPS, etc., should be in the video description.
- Don’t republish private webcams. Personal property cams, business cams, and private network cams are different — these are often password-protected anyway.
- Read the source’s terms. Some cams have explicit terms about commercial use; respect them.
Cam stack for time-lapse hobbyists
If you want to start capturing:
- USGS volcano cams (Kīlauea V1, V2, V3, K2 all expose JPGs)
- NPS cams (webcams.nps.gov for the directory)
- NOAA Mauna Loa Observatory
- Bar Harbor Cam (Acadia)
- Many state DOT cams expose JPG snapshots
Pick one. Run a capture for a few days. Iterate on your settings. Within a week you’ll have time-lapses worth sharing.
The full Port of Cams technique (cron + ffmpeg + branding + auto-upload) is documented in detail on the Port of Cams blog — and most of the cams we capture are listed on the cameras page.